Welcome

Welcome to Hk's Crafts. I'm a housewife with a love for crafting. I make greeting cards as a side income and various other crafts just for fun.

Thursday, July 9, 2015

More word dies

I'm so excited by how today's card came out. I used another one of my new word dies and some inspiration from The Daily Marker. This post from Kathy last month was the inspiration for my card today. In fact now that I look at her card, I used the same "Thanks" die from Lawn Fawn hehe. I originally bought mine from Amazon but now that I look at Simon Says Stamp... I wish I had ordered it from there. Oh well I'll remember for next time.

Well now for my card:


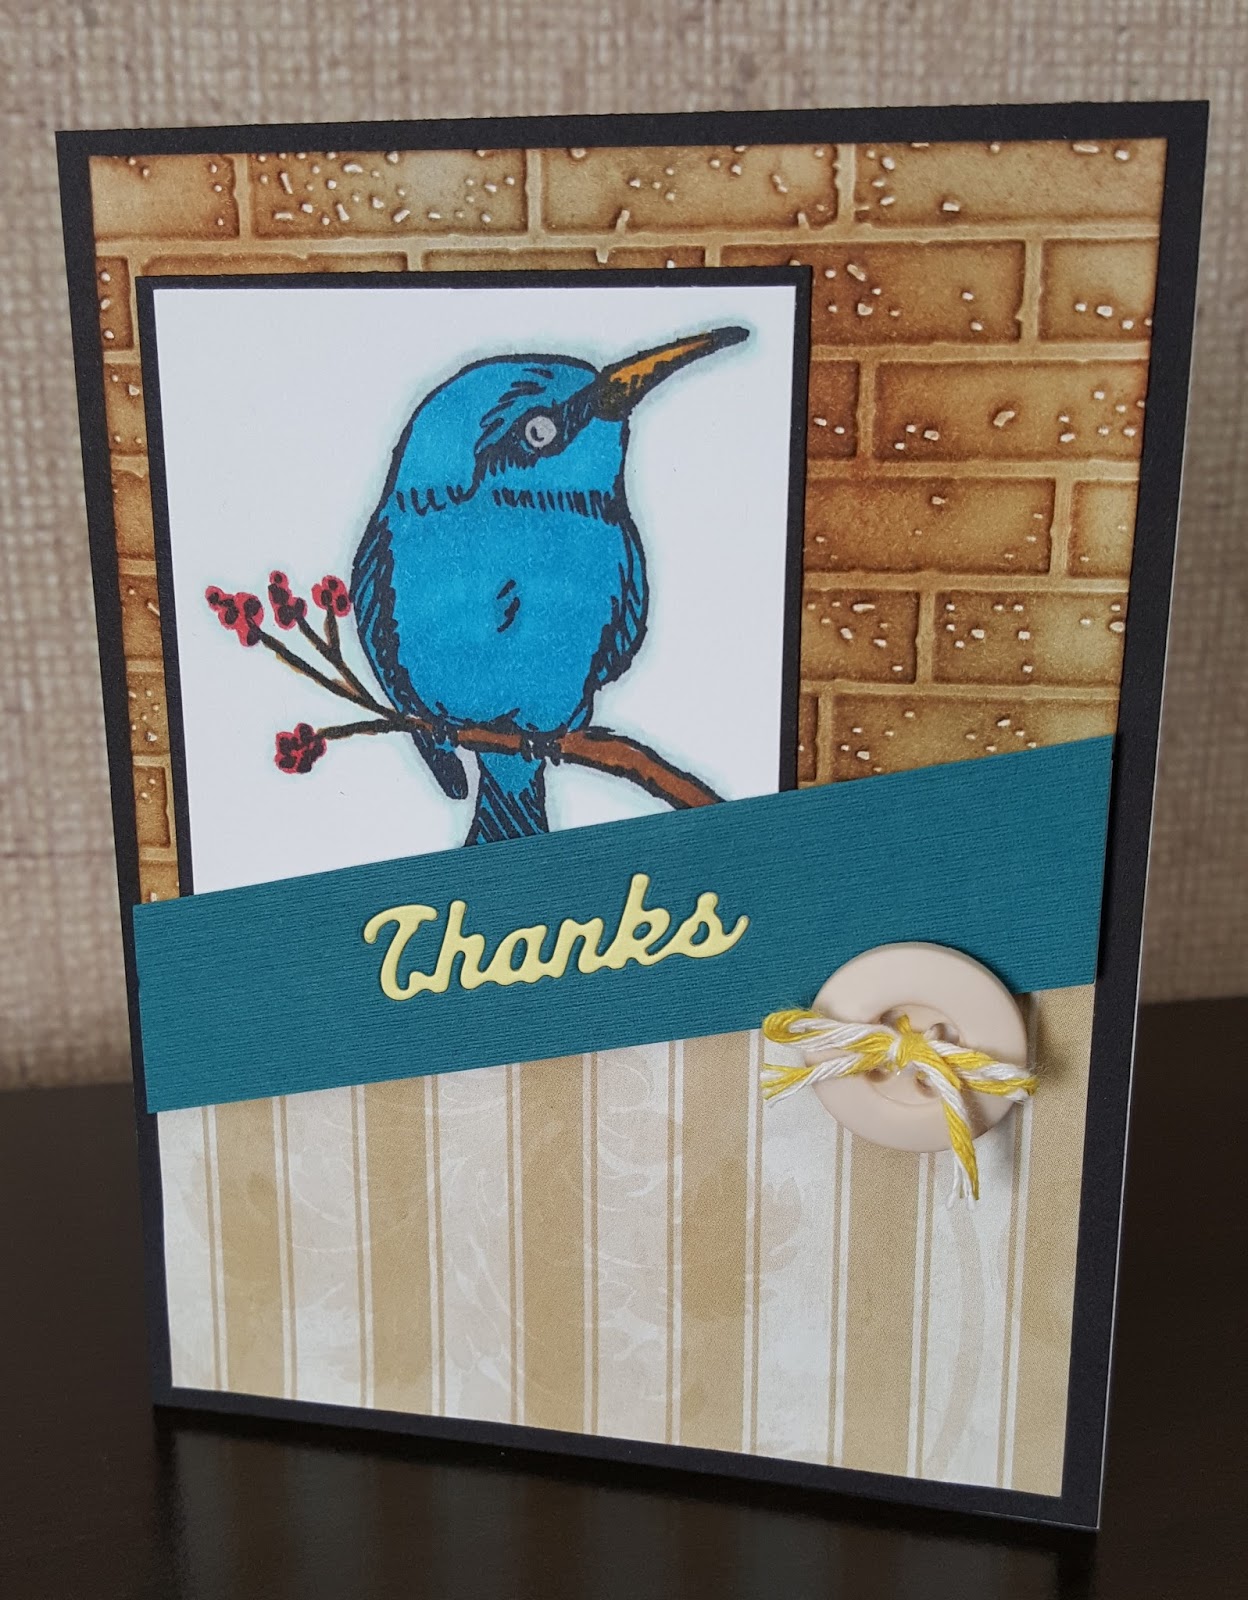
I used a mix of stamps for this card. The flowers are from Bloom with Hope (retired Stampin Up) and the dragonfly is from Unity Stamp Co September KoTM. I colored everything with Spectrum Noir markers. Yes there was a LOT of masking for this project. But I think it was well worth it.


After I got it all stamped and colored I die cut the Thanks from the image and I also die cut the word out of fun foam. (Note to self I really need a magnetic platform for my big shot. :p) I made sure to use a good bit of tape adhesive on the card base which is just a textured soft pink from my stash. I set the fun foam cut out in the opening first and then carefully replaced the little tid bits from the h, k, and s. Then with a little Tombow multiglue on the fun foam and some patience I set the cut out on top and holy cow it just fades away into the background!


The only person who was home to excitedly show it off to was my little brother and he didn't see the Thanks at first. His exact words were "That is really awesome." I think I'll definitely have to try out this technique more. Thank you Kathy for the inspiration!

Challenges I'd like to enter:
Tues. Throwdown #252 no patterned paper (technically I created my own background so that should count as no patterned paper right?)

Inspiration Destination #41 - Anything goes

I think I'll submit this one to Unity Be inspired challenge also!

Wednesday, July 8, 2015

Mojo Monday & Die cuts

I love Mr. Brown (aka UPS). He always brings me lots of goodies! This week I ordered a few word die cuts from Amazon to try out a few techniques that Kathy from The Daily Marker shared last month in her 30 day color challenge. Today I didn't try out one of the techniques but I plan on it tomorrow!

Today I used the sketch from Mojo Monday #405 as inspiration and of course I used one of my new die cuts.


The upper background is a brick wall embossing folder I recently bought from Hobby Lobby. After sending it through my Big Shot I sponged Ranger distress inks on it. I used Rusty Hinge, Bard door, Vintage Photo, Frayed Burlap and Black Soot. The dps is from my never ending stash. Yes I'm addicted to buying dps from Hobby Lobby and Michael's when it's on sale.

The Thanks die cut I used is made by Die-versions and is called "Thanks" Sweet Wordlets. I die cut it out of the blue textured card stock and then die cut another from a soft yellow and placed them both on fun foam. I made sure to put lots of tape adhesive on the fun foam so the yellow die cut would stick and not come up later on. Then I filled in the holes in the a, k and s with the little tidbits from when I cut it out of the blue card stock. I looove how it came out, especially the sunken look because the textured card stock is slightly thicker.


The stamped image is from a Stampin Up stamp set called A Happy Thing. It was a Sale-a-bration item this year and is no longer available. :( Sorry. I stamped it in Momento ink and colored it using my Spectrum Noir markers.

I have to say I love this card. To keep with the sketch for Mojo Monday I added an off white button and made a little bow with some white/yellow twine.

Here is the sketch from Mojo Monday:


Hope this card or sketch inspires you as it did me. :)

Challenges I'd like to enter:
Mojo Monday #405
Inspiration Destination #41 anything goes

Tuesday, July 7, 2015

Penguin Christmas Set

The hubby took vacation most of last week so I didn't get any crafting done. We didn't do a whole lot but run around town mostly for funsies and eat out a lot more than usual. I did have hibachi for the first time at a new restaurant in the next town and it was soooooo gooooood. Now every time the hubby asks what I'm cooking I always answer with let's go eat hibachi! Let's just say I end up cooking. Lol! I love that man.

Anyways on to my cute card set! I wanted to make a note card sized set but decided 3.5" squared is better than 3". The smaller size just seemed too small.


I started with a white card base, then a dark blue mat the size of the base. I had this cute light blue snowflake DPS I had bought last year from Hobby Lobby so I used as a mat (3 3/8") and also as the liner for my envelopes. The image is from Sweet n Sassy Stamps' Christmas Penguins set. I also have the die cut set for these stamps and used them to cut out the penguin and his cute little present after coloring them with Spectrum Noir markers. I also hand cut the little snow mound out of white card stock and then using the sentiments from Sweet n Sassy Stamps' Beary Christmas, I heat embossed the sentiment in black on vellum.


I made one extra card front for the box and created a flip top box using THIS tutorial (adjusting the measurements to fit the card size I used). I found the tutorial on Pinterest. Love love love Pinterest.


The measurements I used for my card box since my cards are 3.5x3.5" are:
Card stock 6 1/4" x 11"
score on short side @ 1" & 5 1/4"
score on long side @ 1", 5", 6" & 10"
Then follow cutting and taping instructions from the tutorial linked above. All 8 cards and handmade, lined envelopes fit comfortably inside. There may even be room to add one or two more but I I haven't tried it.

Challenges I'd like to enter:
Loves Rubberstamping #159 Anything goes